How to Deploy a Django App on AWS: A Complete Guide
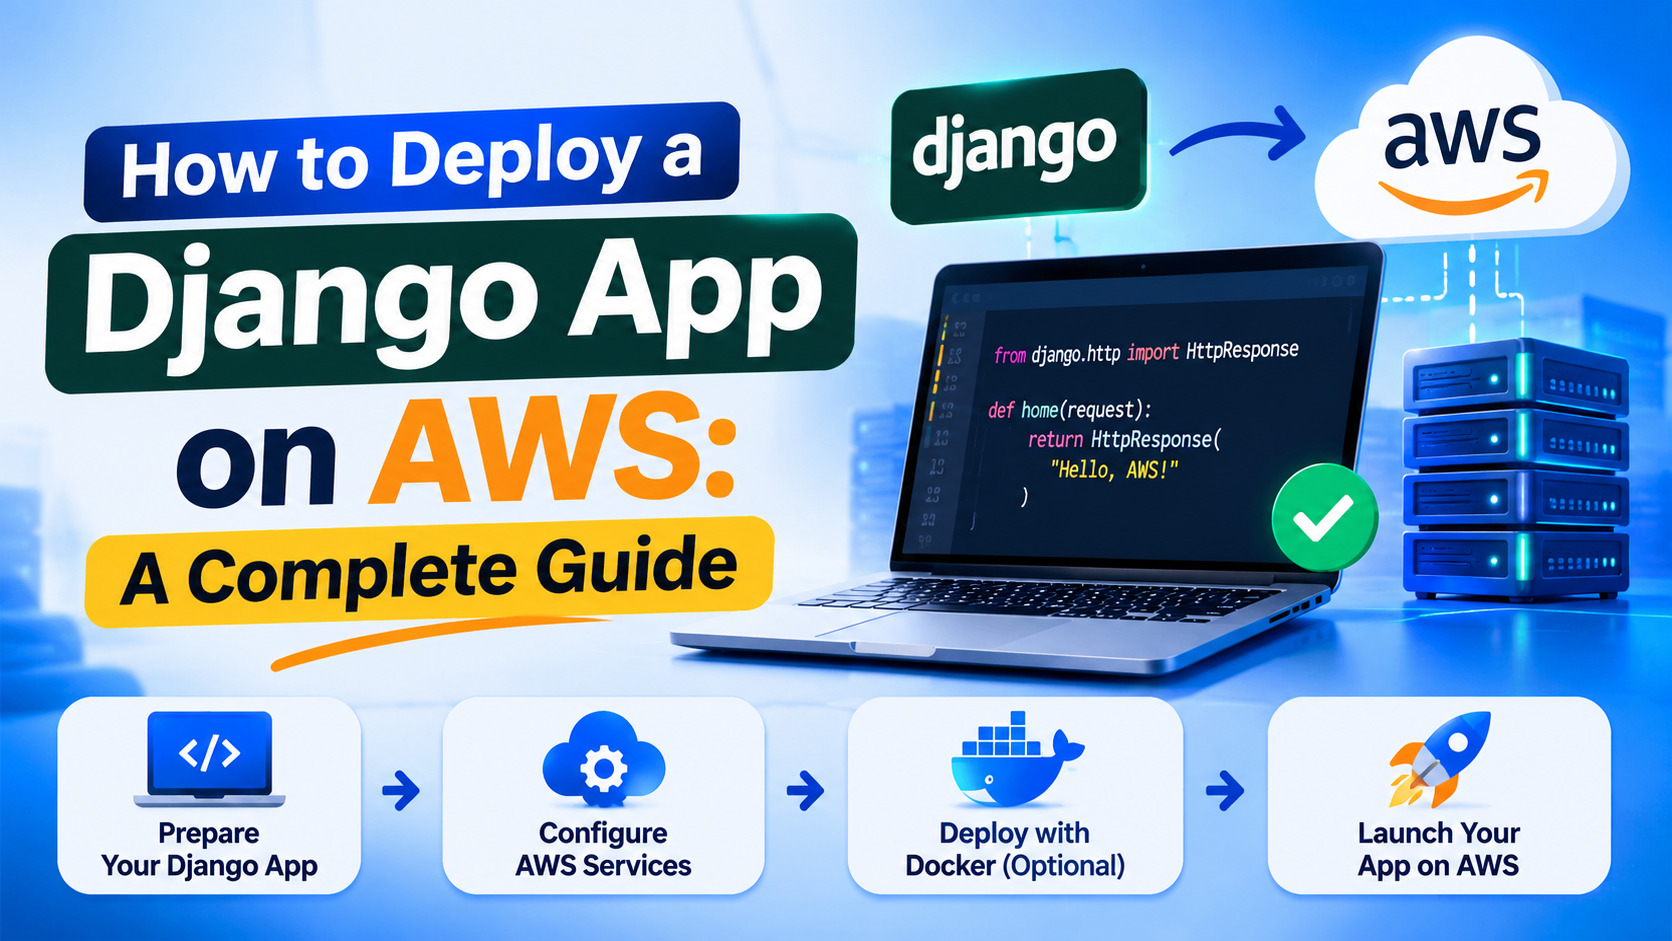
Deploying a Django application is an important step in turning a development project into a real-world product. While building an application locally is relatively straightforward, making it available to users requires a reliable hosting environment, proper server configuration, database management and security.
Amazon Web Services (AWS) provides a flexible cloud infrastructure that makes it possible to deploy Django applications without managing every aspect of the underlying server manually. From small business websites to large-scale platforms, AWS offers services that can support different application requirements.
For developers looking for a practical deployment solution, AWS Elastic Beanstalk is a useful starting point. It simplifies infrastructure management while allowing developers to retain control over their Django application.
In this guide, we will explore how to deploy a Django application on AWS, configure its environment, connect a database, manage static files and prepare the application for production.
Why Choose AWS for Django Deployment?
AWS is one of the most widely used cloud platforms because it offers a broad range of services for hosting, storage, databases, networking and application management.
There are several reasons developers choose AWS for Django projects:
Scalability: Resources can be adjusted as application traffic increases.
Reliability: AWS provides infrastructure designed for highly available applications.
Security: Developers can use services such as IAM, security groups and encryption to protect their environments.
Flexibility: Applications can run on Elastic Beanstalk, EC2, containers and other AWS services.
Integration: Django applications can connect with services such as Amazon RDS, S3 and CloudWatch.
AWS is particularly useful for businesses that expect their applications to grow over time. Working with experienced web development services can also help businesses plan an appropriate application architecture before moving into production.
Understanding AWS Elastic Beanstalk
AWS Elastic Beanstalk is a platform-as-a-service solution that helps developers deploy and manage applications. Instead of configuring every server component manually, developers provide their application code and Elastic Beanstalk manages much of the infrastructure.
For Django applications, Elastic Beanstalk can help manage:
Application environments
Web server configuration
Application deployment
Environment variables
Application health monitoring
Infrastructure scaling
It supports Python applications and provides a convenient deployment workflow.
Although Elastic Beanstalk handles many infrastructure tasks, developers remain responsible for application configuration, database settings, security and deployment readiness.
Step 1: Prepare Your Django Application
Before deploying your application, make sure it works correctly in your local development environment.
Start by checking that your Django project runs without errors:
python manage.py runserver
Next, prepare the dependencies required by your application.
Create a requirements.txt file if you do not already have one:
pip freeze > requirements.txt
Make sure the file includes the packages required to run your application in production. For example, if you use Gunicorn as your application server, include it in the dependencies.
pip install gunicorn
You should also review your Django settings before deployment.
Important settings include:
DEBUG should be set to False.
SECRET_KEY should be stored securely.
ALLOWED_HOSTS should include your production domain or approved hostnames.
Database credentials should not be hardcoded.
Static files should have a proper production configuration.
These preparations reduce the risk of deployment errors and security problems.
Step 2: Create an AWS Account and Configure Access
To deploy your Django application, you need an AWS account.
After creating an account, access the AWS Management Console and configure an appropriate IAM identity for deployment.
AWS Identity and Access Management (IAM) allows you to control which users and applications can access specific AWS resources.
For security, avoid using the root account for routine development and deployment activities. Instead, create an IAM user or role with only the permissions required for your work.
You may also install the AWS Command Line Interface (AWS CLI) to manage AWS resources from your terminal.
Configure the CLI using your authorised credentials:
aws configure
The configuration process asks for information such as your access key, secret key, default region and output format.
Keep credentials private and never upload them to a public Git repository.
Step 3: Install and Configure the Elastic Beanstalk CLI
The Elastic Beanstalk Command Line Interface (EB CLI) makes it easier to create environments and deploy applications from your local development machine.
Follow the official AWS installation instructions for your operating system.
Once installed, navigate to your Django project directory and initialise Elastic Beanstalk:
eb init
The CLI will guide you through selecting an AWS region, application name and supported Python platform.
Choose the configuration that matches your project requirements.
This step connects your local application with the Elastic Beanstalk deployment workflow.
Step 4: Configure the Django Application for Deployment
Elastic Beanstalk needs to know how to start your Django application.
One approach is to configure a Procfile in the project directory. For a project whose Django configuration package is named config, a typical Gunicorn command is:
web: gunicorn config.wsgi:application
Replace config with the actual name of the package containing your project's wsgi.py file.
You should also check that your application dependencies are listed correctly in requirements.txt.
For additional configuration, AWS Elastic Beanstalk supports platform-specific configuration files and settings.
The exact configuration may vary depending on the Python platform version and the architecture of your project.
Step 5: Create an Elastic Beanstalk Environment
Once your application is configured, create an Elastic Beanstalk environment.
Run:
eb create django-production
Replace django-production with your preferred environment name.
Elastic Beanstalk will provision the resources required for the selected platform. Depending on your configuration, this may include compute instances, load balancing and associated infrastructure.
After the environment is created, check its status:
eb status
You can also use the AWS Management Console to monitor environment health and review configuration details.
Step 6: Configure Environment Variables and Database Settings
A production Django application should not rely on development credentials or a local SQLite database for every use case.
For many production projects, PostgreSQL is a suitable database option. AWS provides Amazon Relational Database Service (RDS), which supports managed database hosting.
You can create a PostgreSQL database through Amazon RDS and configure the required connection details in your Elastic Beanstalk environment.
Typical environment variables include:
DB_NAME
DB_USER
DB_PASSWORD
DB_HOST
DB_PORT
Your Django settings can read these values from the environment rather than storing sensitive credentials directly in source code.
For example:
import os
DATABASES = {
"default": {
"ENGINE": "django.db.backends.postgresql",
"NAME": os.environ.get("DB_NAME"),
"USER": os.environ.get("DB_USER"),
"PASSWORD": os.environ.get("DB_PASSWORD"),
"HOST": os.environ.get("DB_HOST"),
"PORT": os.environ.get("DB_PORT", "5432"),
}
}
Make sure the database security group permits connections from the application environment, rather than opening database access to the entire internet.
For production applications, database backups, access restrictions and monitoring should also be part of the deployment plan.
Step 7: Manage Static Files
Django applications often contain static assets such as CSS, JavaScript and images.
During production deployment, these files need to be collected and served correctly.
First, configure the static file settings in Django:
STATIC_URL = "static/"
STATIC_ROOT = BASE_DIR / "staticfiles"
Then run:
python manage.py collectstatic
This command collects static files into the configured directory.
You must also configure your hosting environment to serve these files. Depending on your architecture, you may use the web server configuration provided by your platform or Amazon S3 with an appropriate content delivery setup.
For applications with a large number of uploaded media files, use a suitable storage solution instead of relying on temporary application server storage.
Step 8: Deploy Your Django Application
After configuring the application, environment and dependencies, you can deploy your project.
Run:
eb deploy
The EB CLI uploads the application version and deploys it to the selected environment.
Once deployment finishes, open the environment URL provided by Elastic Beanstalk.
Check that:
The homepage loads correctly.
User authentication works.
Database connections are successful.
Static files display properly.
Important application features work as expected.
No unexpected errors appear in application logs.
If something goes wrong, use the Elastic Beanstalk console and application logs to identify the issue.
Step 9: Configure a Custom Domain and HTTPS
A production application should use a professional domain rather than relying only on its default AWS environment URL.
You can configure a custom domain through your DNS provider and connect it to the appropriate AWS resources.
For secure communication, configure HTTPS using an SSL/TLS certificate. AWS Certificate Manager can help provision and manage certificates for supported AWS services.
After configuring the domain and certificate, update Django's production settings and ensure that secure connections are enforced correctly.
HTTPS protects information exchanged between users and your application, making it an essential part of a production deployment.
Step 10: Monitor and Maintain Your Application
Deployment is not the final step. A production Django application needs regular maintenance to remain secure, reliable and efficient.
AWS CloudWatch can help monitor infrastructure performance and collect logs and metrics.
Developers should regularly review:
Application errors and server logs.
CPU and memory usage.
Database performance.
Traffic patterns.
Security updates.
Backup status.
Application response times.
It is also important to test updates before releasing them to production.
A structured development and release workflow can reduce deployment risks. Businesses planning ongoing application improvements can review Otwosoft's development process as a useful reference for understanding how development work can be organised.
Common Mistakes to Avoid When Deploying Django on AWS
Even a properly developed Django application can experience deployment problems if production requirements are overlooked.
Here are some common mistakes to avoid:
1. Keeping DEBUG enabled: Running Django with DEBUG=True in production can expose sensitive technical information.
2. Hardcoding credentials: Database passwords and secret keys should be stored securely, not directly in source code.
3. Incorrect ALLOWED_HOSTS: If the production hostname is missing, Django may reject incoming requests.
4. Ignoring static files: An application may load successfully while its CSS and JavaScript files fail to display.
5. Misconfigured security groups: Incorrect network permissions can prevent the application from connecting to its database or expose resources unnecessarily.
6. Skipping backups: Database backups are important for recovery after accidental data loss or unexpected failures.
7. Deploying without testing: Always test important features after deployment and review application logs.
Avoiding these mistakes can make the deployment process smoother and help protect your application.
Final Thoughts
Deploying a Django application on AWS becomes more manageable when the process is divided into clear steps. AWS Elastic Beanstalk provides a convenient way to host Python applications, while services such as Amazon RDS, S3 and CloudWatch can support database management, file storage and monitoring.
However, a successful deployment involves more than uploading code. Developers must configure production settings, secure credentials, manage static files, test application functionality and monitor performance.
By following a structured approach, developers can create a reliable foundation for their Django applications and prepare them for future growth.
Frequently Asked Questions (FAQs)
1. Can I deploy a Django application on AWS for free?
AWS may offer free usage allowances for eligible services and accounts. However, availability, eligibility and usage limits can vary. Some resources may generate charges, so always review current AWS pricing before deploying.
2. What is the easiest way to deploy Django on AWS?
AWS Elastic Beanstalk is a convenient option for many beginners because it simplifies application deployment and infrastructure management. Developers can also use Amazon EC2, containers or other AWS services depending on their requirements.
3. Which database is best for a Django application on AWS?
PostgreSQL is a popular choice for production Django applications. Amazon RDS offers managed PostgreSQL hosting, helping developers manage database infrastructure, backups and other operational tasks.
4. Can I deploy Django on AWS without Elastic Beanstalk?
Yes. You can deploy Django using Amazon EC2, Docker containers, Amazon ECS or other suitable AWS services. The best approach depends on your technical requirements and infrastructure management preferences.
5. How do I update my Django application after deployment?
After making and testing changes, you can deploy an updated application version using the EB CLI:
eb deploy
Before deploying, check your dependencies, database migrations and production configuration.
6. How do I handle static files in a Django application on AWS?
Use Django's collectstatic command to collect static assets. You can then configure your hosting environment to serve them or use Amazon S3 with an appropriate delivery configuration.
7. Is AWS suitable for large Django applications?
Yes. AWS offers scalable infrastructure and services that can support large Django applications. However, performance depends on application design, database configuration, caching, traffic management and infrastructure planning.
8. How can I secure my Django application on AWS?
Set DEBUG=False, protect your secret key, configure ALLOWED_HOSTS, enforce HTTPS and restrict database access. Use appropriate IAM permissions, keep dependencies updated and monitor application logs regularly.